How to Automate Affiliate Approvals for Shopify Stores
Stop burning hours in your inbox. Start approving great affiliates in seconds—with the exact features Buzzbassador actually offers today.
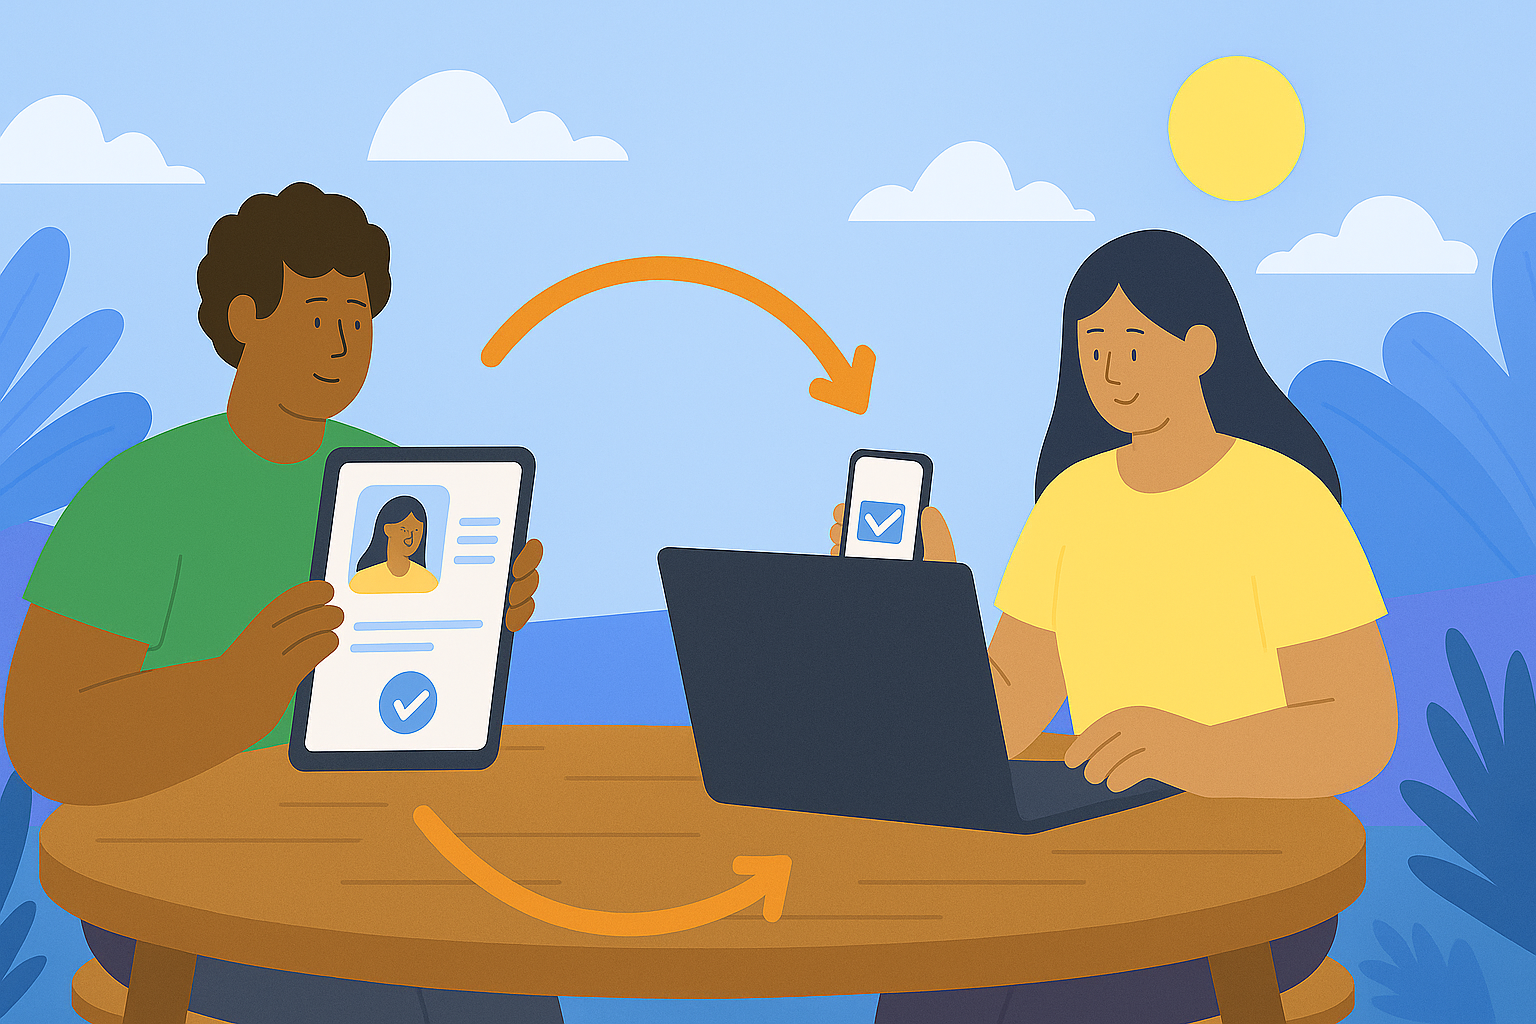
If you're manually reviewing every affiliate or ambassador application that comes through your Shopify store, you're wasting hours every week on a process that should take seconds.
Someone applies to your program at 2 PM. You're busy running your business. You finally see the application at 9 PM. You manually review it, decide they're a good fit, click approve, then send a welcome email with their discount code and affiliate link. Multiply this by 20 applications per week and you're spending 3-4 hours just processing approvals.
Meanwhile, qualified applicants are waiting days to hear back. Some give up and join a competitor's program instead. Others forget they even applied by the time you respond.
This guide shows you exactly how to automate the entire approval process using Buzzbassador's documented features—automated approval (Build plan), program routing (Build plan), and custom email flows (available on all plans including Launch)—so you can approve affiliates instantly without touching a single application manually.
The Problem with Manual Affiliate Approvals
Let's be honest about what actually happens when you handle approvals manually.
The manual approval workflow:
An applicant fills out your form. You get an email notification (that gets buried in your inbox). Hours or days later, you log into your affiliate platform. You read through the application. You check their Instagram to see if they're legit. You decide if they meet your criteria. You manually click "approve." You manually send them a welcome email with instructions. You manually create their discount code. You manually copy-paste their affiliate link.
Then you repeat this 15 more times that week.
What actually happens:
You miss applications entirely because notifications get lost. High-quality applicants bounce because your response time is too slow. You approve people inconsistently because you're rushed. You forget to send welcome emails half the time. New affiliates don't know what to do next because onboarding is sloppy. You waste 3-4 hours per week on something that should be automated.
The bigger your program grows, the worse this gets. At 10 applications per week, it's annoying. At 50 applications per week, it's impossible to keep up without automation.
This is exactly why automated approvals exist—to eliminate the manual work and approve qualified applicants instantly.
What Buzzbassador Actually Automates (and on Which Plan)
Here's what's verifiably true right now about Buzzbassador's automation capabilities:
Automated applicant approval – Available on the Build plan (and higher). Toggle it on to auto-approve applicants instead of reviewing one-by-one. This is a simple ON/OFF switch that approves everyone who applies.
Automated program routing – Also a Build feature. After applicants are approved, automatically place them into the right program tier (e.g., VIP, Standard, Nano) based on the data you collected in your application form.
Custom email flows – Available on ALL plans, including Launch. You can design and send automated emails triggered by events like approval, so new affiliates get onboarding emails instantly without manual work.
Custom application form + codeless embedding – Included across all plans. Build a branded form and embed it on your site without code.
Auto-generated codes & links + member portal – Buzzbassador automatically provisions discount codes and affiliate links, then gives each affiliate a login to their portal to track performance.
Klaviyo integration – Available on Build and higher plans to complement Buzzbassador's in-app emails with more advanced lifecycle flows.
The workflow is straightforward: Enable auto-approval (Build) → Use program routing to place people in the right tier (Build) → Trigger automated welcome emails (all plans) → Affiliates access their portal for codes, links, and tracking.
Most merchants who switch from manual to automated approvals save 3-5 hours per week on approval processing alone.
.png)
How to Set Up Automated Approvals (Step-by-Step)
Here's exactly how to automate your affiliate approval process using Buzzbassador's actual features.
Step 1: Design a Lean, High-Signal Application Form
Start by creating a custom application form that captures only the information you'll actually use for routing or onboarding. Over-long forms reduce conversions and slow your funnel.
Recommended fields:
Your form should capture name and email, primary platform (choose from a short list like Instagram, TikTok, YouTube), social handle(s) (keep it to 1-2 fields max), and country or region (important for shipping, legal, and currency considerations). Include an opt-in checkbox to receive program emails with explicit consent language. Optionally, you can add a short "why do you want to join" text field that signals authenticity without becoming a barrier to entry.
Buzzbassador offers a custom application form with codeless embedding, so you can tailor the form to match your brand and host it on your site without code.
Form-design guardrails:
Use "required" fields only where truly necessary. Keep "survey" questions minimal. Focus on data you can actually use for routing (like platform or region) rather than trying to build complex approval rules.
SEO tip: Place a short paragraph above your form with keywords like "affiliate program," "brand ambassadors," "Shopify affiliate," and "influencer program" to capture long-tail search queries.
Step 2: Turn on Automated Applicant Approval (Build Plan)
In Buzzbassador's Build plan, enable "Automated applicant approval" so applicants are approved instantly—no manual steps. This is a simple toggle that flips the most time-consuming switch in your process.
When to auto-approve by default:
Auto-approval works best when you run a wide-funnel, community-led program and prefer inclusivity. It's ideal when your program assets are evergreen and light-risk (think standard commission rates and modest discounts). You'll also want to use program routing to place people correctly after they're approved.
When to keep manual review:
Consider keeping manual review for VIP placements that require stricter brand control, regions with complex shipping or returns logistics, or regulated categories where disclosures are critical.
Pro move: Start with auto-approval for your broadest program and reserve manual review for a single, higher-stakes VIP tier.
Step 3: Configure Automated Program Routing (Build Plan)
After approval, program routing automatically places the creator in the correct tier—without you sorting spreadsheet rows. You might create programs like:
VIP (High-tier): High commissions, early product accessStandard (Core): Default commission, standard assets
Nano / Starter: Beginner lane with clear "first-30-days" milestones
Set routing using data you collected on the form (e.g., primary platform, region), and plan your onboarding flows accordingly.
Tip: Even if you don't enforce follower counts, you can still separate platform-based routes (e.g., TikTok vs. Instagram) so your first emails show the most relevant content guidance and example posts.
.png)
Step 4: Build Your Automated Email Flows (Available on All Plans)
Buzzbassador supports in-app automated email campaigns on ALL plans, including Launch. You can design emails and trigger them on specific events like approval. That means your welcome, getting started, and milestone emails go out right away—no upgrade required.
A proven 4-email sequence:
Email 1: Approval & Access (Instant)
Send a congrats message with their code and link, portal login credentials, and a 5-minute setup checklist. Include a direct link to your asset mini-library with your top 3 brand images or videos and caption prompts.
Email 2: First Post Plan (Day 1)
Show them how top affiliates make their first post within 48 hours. Include your best-performing post templates organized by platform.
Email 3: Momentum Check (Day 3-4)
Send a quick nudge to publish if they haven't yet. Share one "good, better, best" creative example to guide them.
Email 4: Week-1 Wrap (Day 7)
Share their early performance metrics if they've driven any clicks or sales. Preview upcoming perks like contests, leaderboards, or feature Fridays.
For Klaviyo users: On Build and higher, you can integrate Klaviyo to complement Buzzbassador's in-app emails for more advanced lifecycle flows.
.png)
Step 5: Make Codes, Links, and the Portal "Instant-Use"
The moment someone is approved, they should be able to log in to their member portal, find their referral code and affiliate link, and grab starter assets.
Buzzbassador is built for this hand-off: auto-generate referral codes/links and let creators self-serve via the portal—reducing "what's my code?" support tickets.
Onboarding UX quick wins:
Include a deep link to the member portal in your first email. Add a one-screen "First Win" checklist that walks them through copying their code, copying their link, and picking a caption template. Provide 2-3 ready-to-post assets per platform to remove creative friction.
Step 6: Decide What Happens to Edge Cases
Even with auto-approval, you may manually upgrade or downgrade tiers later or need to decline applicants from unsupported regions. Keep things professional by sending a polite decline email with a clear explanation and a path to reapply (for example, when your region opens or after 30 days of audience growth). You can also offer a customer-advocacy track for great customers who aren't a fit as affiliates yet, so they can still share user-generated content and be recognized informally.
You can send these via Buzzbassador's in-app emails so every applicant gets a clear resolution.
The Benefits of Automated Approvals
Let's talk about what actually improves when you automate your approval process.
1. Instant Response Time
Manual approvals: Applicants wait 24-72 hours (or longer) to hear back. Many give up and join a competitor's program instead.
Automated approvals: Qualified applicants are approved in seconds. They get their welcome email, discount code, and affiliate link immediately. They can start promoting right away.
Real impact: Faster approvals mean higher conversion rates. You don't lose qualified affiliates to slow response times.
2. Consistent Qualification Standards
Manual approvals: You approve someone with 800 followers on Monday because you're in a good mood. You reject someone with 900 followers on Friday because you're tired and set the bar higher.
Automated approvals: Every applicant is judged by the exact same criteria, every time. No mood-based decisions, no favoritism, no inconsistency.
Real impact: Fair, transparent standards that scale. Your approval process is defensible and consistent.
3. Professional First Impression
Manual approvals: Applicants receive a disjointed onboarding experience. Maybe they get a welcome email. Maybe they don't. Maybe you remember to send their discount code. Maybe you forget.
Automated approvals: Every approved applicant gets the same polished onboarding sequence. Welcome email with clear next steps. Discount code and affiliate link. Portal login. Getting started guide. The whole experience is professional and complete.
Real impact: Affiliates take your program seriously because your onboarding looks professional. This sets the tone for how they'll promote your brand.
4. Time Savings (3-5 Hours Per Week)
Manual approvals: You spend 10 minutes per applicant. With 20 applications per week, that's 3+ hours every week just processing approvals.
Automated approvals: Zero time spent. The system handles everything automatically.
Real impact: You get 3-5 hours back every week to focus on growing your business instead of processing paperwork.
5. Scalability Without Hiring
Manual approvals: At 10 applications per week, manual processing is annoying. At 50 applications per week, it's a part-time job. At 100+ applications per week, you need to hire someone just to manage approvals.
Automated approvals: Whether you get 10 applications or 500 applications, the system handles it the same way. No additional labor needed.
Real impact: Your program can scale from 50 affiliates to 500 affiliates without requiring more people to manage approvals.
Sample Configurations That Work
Let's look at specific ways Shopify merchants use automated approvals.
Configuration 1: Fast-Track Growth (Broad Auto-Approve)
Setup:
Turn auto-approve ON (Build plan). Set routing to the Standard program by default, then manually upgrade VIPs later. Send a strong 4-part onboarding sequence plus a Day-21 re-activation email.
When to use: New store or a brand ramping up a community program fast
Why it works: Maximum speed, minimal operations overhead
Configuration 2: Platform-Led Routing
Setup:
Turn auto-approve ON (Build plan). Create separate TikTok and Instagram programs with different asset kits and post templates. Send platform-specific examples and benchmarks to each route.
When to use: Creative guidance differs meaningfully by platform
Why it works: Right content to the right creator on Day 1
Configuration 3: Region-Aware Onboarding
Setup:
Turn auto-approve ON for supported regions but keep manual review for others. Create region-specific programs that account for currency, shipping, and local holidays. Send localized offers and content calendars.
When to use: Complex shipping logistics, compliance, or region-specific promos
Why it works: Fewer surprises on logistics; better local resonance
Common Mistakes to Avoid with Automated Approvals
Automation is powerful, but it can backfire if you set it up wrong. Here are the most common mistakes merchants make.
Mistake 1: Collecting Data You Don't Use
The mistake: Your form asks for follower count, engagement rate, previous brand partnerships, favorite products, and a 500-word essay about their content strategy.
The problem: If a field won't change your routing or onboarding, it's just friction. Shorter forms convert better.
The fix: Only collect data you'll actually use. Platform choice? Yes. Region? Yes. Their entire social media history? No.
Mistake 2: Promising Approval Rules That Don't Exist
The mistake: Trying to build complex approval logic with follower thresholds, multi-condition rules, or survey-style conditional branching.
The problem: Buzzbassador doesn't publicly promise survey-style conditional logic. Keep eligibility simple and reflect what the platform actually supports: auto-approve ON/OFF, then route to programs based on form data.
The fix: Use auto-approval as a simple toggle, then handle nuance through program routing (platform-based, region-based) after approval.
.png)
Mistake 3: Weak First-Email Experience
The mistake: Your auto-approval works great, but your welcome email is generic and unhelpful. New affiliates don't know what to do next.
The problem: Affiliates get approved but never actually promote because they're confused or unmotivated. Your conversion rate from approved → active is terrible.
The fix: Your Day-0 email should deliver code, link, portal access, and one clear action: "Publish your first post in 10 minutes—here's how."
Mistake 4: One-Size-Fits-None Assets
The mistake: You recruit across multiple platforms but send everyone the same generic "share on social" guidance.
The problem: Instagram content doesn't work on TikTok. TikTok scripts don't work in YouTube descriptions. Generic guidance means nobody gets what they need.
The fix: Use program routing to send platform-specific onboarding content immediately. TikTok affiliates get TikTok examples. Instagram affiliates get Reels templates.
Mistake 5: No Plan for Edge Cases
The mistake: You set up auto-approval with no thought about how to handle declines, manual upgrades, or unusual applicants.
The problem: You end up ghosting edge cases or manually scrambling to figure out what to do with them.
The fix: Set expectations for declines (send a polite email via Buzzbassador's in-app automations) and create a "come back later" loop.
How to Set This Up in Buzzbassador
Here's the exact process for setting up automated approvals in Buzzbassador.
Step 1: Start with Launch or Upgrade to Build
On Launch plan (free, revenue share): You can build custom email flows and a custom application form. When you're ready to scale approvals, upgrade to Build.
On Build plan: You get automated applicant approval + program routing, plus Klaviyo integration, UTM link tracking, and the ability to remove Buzzbassador branding from assets.
Log into your Buzzbassador account. If you need to upgrade, go to Settings → Billing and select the Build plan.
Step 2: Build Your Custom Application Form
Go to Forms → Application Form and create your custom application form.
Keep it lean. Recommended fields include name, email, primary platform (dropdown), social handle, country or region, and an email opt-in checkbox.
Buzzbassador supports codeless embedding, so you can host this form on your site without any code.
Step 3: Enable Automated Applicant Approval (Build Plan Required)
Go to Settings → Approval Settings and toggle on "Automated applicant approval."
This is a simple ON/OFF switch. When enabled, all applicants who submit the form are approved instantly.
Step 4: Set Up Program Routing (Build Plan)
Go to Programs and create 2-3 programs for routing. For example, you might create a TikTok Program for TikTok creators, an Instagram Program for Instagram creators, and a Standard Program as your catch-all default.
Configure routing rules based on data collected in your form (e.g., "If platform = TikTok → Route to TikTok Program").
Each program can have different commission rates, discount code structures, and onboarding emails.
Step 5: Create Automated Email Sequences (All Plans)
Go to Automations → Email Flows and create your onboarding sequence.
Set up these email triggers:
Email 1: Approval Confirmation (Instant)
Set the trigger to "When applicant is approved" with immediate delay. Include welcome message, discount code, affiliate link, and portal login.
Email 2: Getting Started (Day 1)
Set the trigger to "When applicant is approved" with a 1-day delay. Cover how to promote, where to find your asset library, and program guidelines.
Email 3: First Milestone (Day 3)
Set the trigger to "When applicant is approved" with a 3-day delay. Send a reminder to make their first post plus tips for engagement.
Email 4: Week-1 Wrap (Day 7)
Set the trigger to "When applicant is approved" with a 7-day delay. Share their performance summary, encouragement, and preview of next perks.
Step 6: Test the Flow
Before going live, test your automation end-to-end.
Submit a test application. Check that the applicant is approved automatically, the welcome email is sent immediately, the applicant receives their discount code and affiliate link, follow-up emails trigger at the correct intervals, and the applicant can log into their portal.
Fix any issues, then activate your automation.
Step 7: Drive Traffic to Your Form
Publish your application form and start driving traffic by adding it to your email signature, sending post-purchase invitations to customers, linking it in your social media bios, and creating a dedicated /affiliates page on your site.
Step 8: Monitor and Optimize
Check weekly to see how many applications are coming in, what the conversion rate is from approved to first post, which platform routes are performing best, and whether your emails are getting opened and clicked.
Adjust your routing and email content based on results.
Why Automated Approvals Matter at Scale
Here's the reality: You can manually process approvals when you have 5-10 applications per week. It's annoying, but manageable.
But once you hit 20+ applications per week, manual processing becomes a bottleneck. You're spending hours every week just reading applications and sending emails. Qualified applicants are waiting days to hear back. Some give up and never join.
Automated approvals eliminate that bottleneck. Your program can grow from 50 affiliates to 500 affiliates without requiring more of your time. You're not the limiting factor anymore—the system handles growth automatically.
And your affiliates get a better experience: they're approved instantly (no waiting), they receive professional onboarding emails, they know exactly what to do next, and they can start promoting immediately.
This is how you scale an affiliate program without scaling your workload.
.png)
Plan Guidance: Which Buzzbassador Plan Do You Need?
Starting out? Launch plan (free, revenue share)
The Launch plan includes custom email flows, custom application form, and manual approvals. When you're ready to scale, upgrade to Build for automated approval and program routing.
Scaling your program? Build plan
The Build plan includes automated applicant approval, automated program routing, Klaviyo integration, UTM link tracking, and the ability to remove Buzzbassador branding.
Enterprise needs? Plus plan
The Plus plan offers no revenue share, unlimited programs and forms, white-glove service, and advanced campaign features.
Ready to Automate Your Approvals?
If you're still manually reviewing every application, you're wasting hours every week on work that should be automated.
Here's what automated approvals get you:
Instant approval for all applicants with no waiting and no delays. Consistent onboarding experience where every affiliate gets professional emails. Program routing to place people in the right tier automatically. Three to five hours saved every week that you can spend growing your business instead. Unlimited scalability where you can handle 10 applications or 500 without adding extra work.
Upgrade to Buzzbassador's Build plan to automate approvals.
You get automated applicant approval (a simple ON/OFF toggle), program routing for multi-tier programs, custom email flows for onboarding (available on all plans, but paired with Build automation it becomes even more powerful), Klaviyo integration for advanced lifecycle emails, UTM link tracking for affiliate performance, and unlimited automated approvals.
Stop processing applications manually. Start approving affiliates instantly.
👉 Upgrade to the Build plan now and automate your approval process in one afternoon.

.png)


.svg)
.svg)

.svg)